
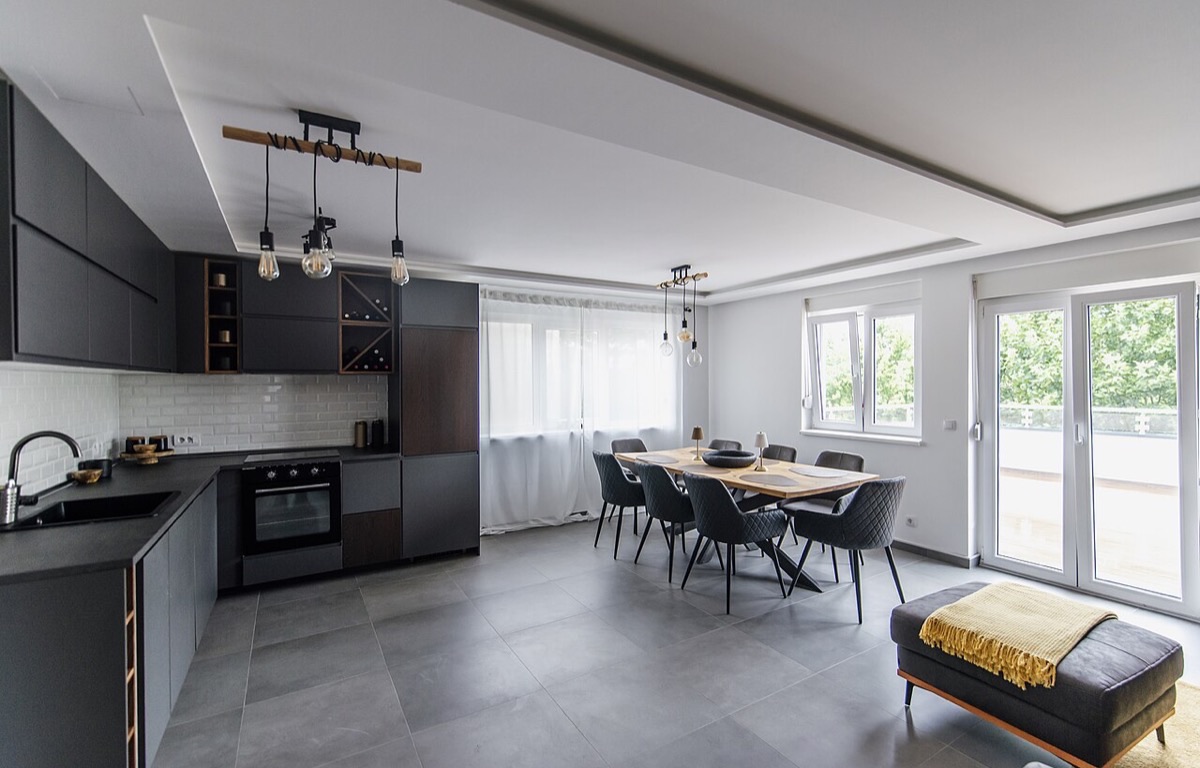

Check leaks and seals before cosmetics, clean reachable surfaces with compatible products, test appliances normally, and keep before-and-after photos of anything that was already worn.
The final kitchen check is not a contest to make a rented room look brand new. It is a chance to leave the space clean, dry, usable and easy to inspect. A swollen cabinet edge, a leaking tap, a broken seal or an appliance fault matters more than a faint mark that was already present.
Work in the same order each time: document, make safe, check moisture, clean compatible surfaces, test normal functions, then photograph the finished room. For individual repairs, see the water-under-the-sink guide and the countertop water-mark guide.
Do not paint over mold, seal a wet cabinet, pour chemicals into a slow drain, or hide a leak before the inspection. A clean surface should not make a maintenance issue harder to see.
1. Photograph the kitchen before the final clean
Take one wide photo from the doorway and one photo of each work area: sink, countertop, cooker, refrigerator, floor, cupboards and any existing marks. Open the doors carefully and photograph swelling, chipped edges or stains before moving stored items.
Use the same angles when possible. This makes ordinary wear and pre-existing marks easier to compare.
Check for dampness, drips, swollen board, odor or a loose waste connection.
Look around the sink, countertop joins, dishwasher, refrigerator and window for water or failed sealant.
2. Check moisture before cleaning cosmetics
Run the tap briefly, let the basin drain, and look under the sink without moving pipework. Check the dishwasher hose, washing-machine connection and refrigerator water line if the property has them. Leave the cabinet open while damp areas dry.
EPA guidance recommends controlling moisture, drying wet areas promptly, and reporting plumbing leaks or damp materials rather than covering them with paint or caulk (US EPA mold and moisture guide). If a leak continues, use the landlord or emergency maintenance route instead of making the handover look better temporarily.
3. Clean surfaces with the least aggressive compatible method
Remove food, crumbs, grease and loose debris first. Use warm water and a mild detergent on surfaces that allow it, then rinse and dry. Follow the appliance or countertop manufacturer's instructions when available. Do not mix bleach, ammonia, drain products or other cleaners.
Use a soft cloth on painted cabinet fronts and an appropriate non-abrasive method on the countertop. Avoid soaking door edges, unfinished cut-outs and swollen board. For a pale ring or cloudy patch, use the countertop mark guide instead of trying a stronger chemical.
4. Test appliances normally, not destructively
Check that the refrigerator lights and seals work, the cooker controls respond, the extractor runs, and the dishwasher or washing machine completes a normal short cycle if the tenancy requires it and the appliance is safe to use. Do not dismantle an appliance, pull it out of a tight space, or test a leaking machine by running repeated cycles.
Empty filters, crumb trays and removable shelves where the appliance instructions permit it. Keep manuals, keys and removable parts together. If an appliance makes an unusual noise, smells of burning, trips power or leaks, stop using it and report it.
5. Record repairs, keys and small missing parts
Check cupboard shelves, drawer runners, handles, sink plugs, appliance racks, extractor filters and any supplied bins or trays. Count keys and note which appliance parts are present. Do not tighten or replace hardware that is damaged beyond a simple visible adjustment.
Write a short handover note for anything you reported: date, location, symptom and reference number. A written record protects both sides better than a last-minute verbal explanation. The small wall holes guide explains the same before-and-after approach for surfaces.
6. Make the final pass easy to inspect
Leave cupboards open briefly if they are still drying, then close them normally. Remove personal items, wipe the floor edges, empty the bin, and make sure the sink and countertop are dry. Keep the final photos with the move-out record and avoid returning heavy objects that hide a stain or swollen edge.
Finish with a documented handover
A good kitchen handover is dry, documented and proportionate. Check moisture before cosmetics, use compatible cleaners, test appliances only in normal ways, and keep a written record of anything that still needs attention. Continue with the full guide library for the rest of the move-out pass.
These links support specific safety, maintenance or jurisdiction examples in the article. General guidance cannot replace the instructions for the exact appliance, fitting, lease or location.