
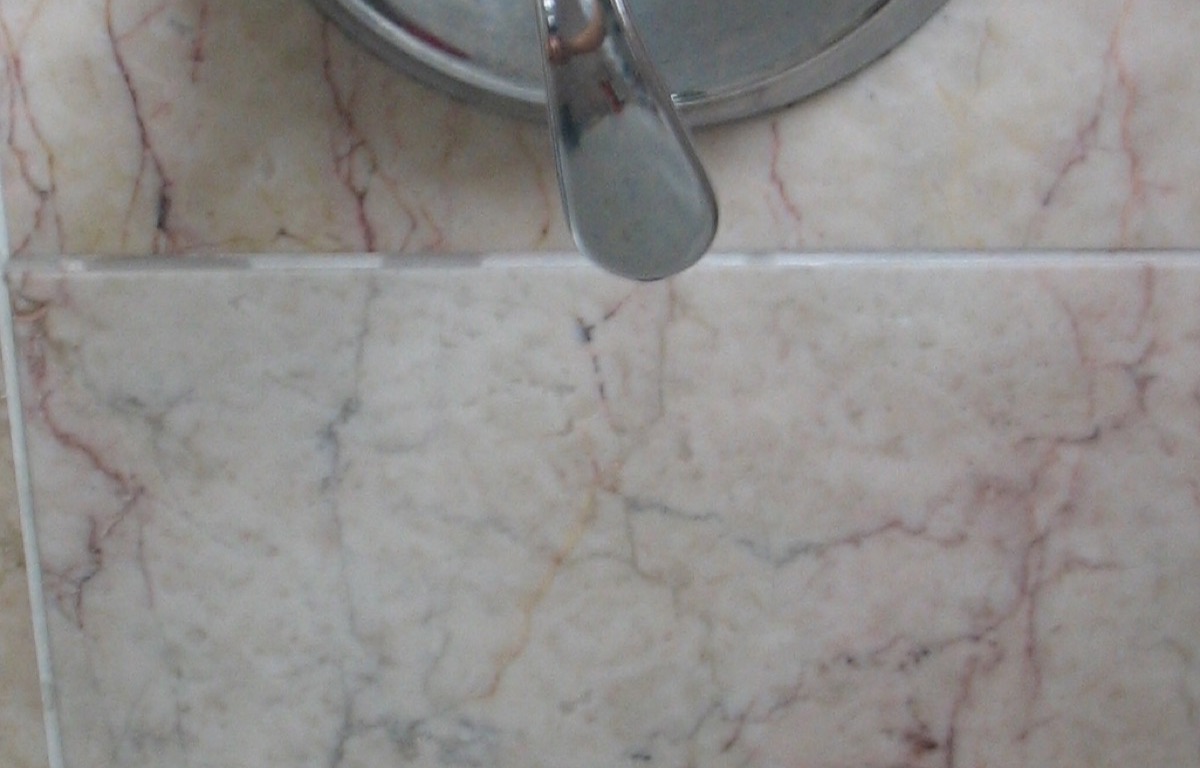

Dry the area, test whether the handle still controls water and temperature normally, and tighten only an obvious external screw if the fitting is stable. Report leaks, stiff controls or any handle that could come away in use.
A loose shower handle is not just a cosmetic annoyance. The handle may be moving because a small cover screw has loosened, or because the valve body, cartridge or wall fixing is no longer secure. If the control is also stiff, dripping or difficult to turn to a safe temperature, the problem needs a proper inspection.
Start with the shower dry and unused. Do not remove the trim plate, pull the handle off the valve or apply sealant around a moving fitting. For other bathroom issues, browse the kitchen and bathroom guide collection.
If the handle can turn freely without changing the water, the fitting is leaking behind the wall, or the water becomes unexpectedly hot, stop using the shower and contact maintenance. Do not keep testing a control that may not regulate temperature.
Check what is actually loose
Dry the handle, escutcheon and wall around it. Hold the plate lightly with one hand and move the handle a small amount with the other. Note whether the handle moves on its own, the whole wall plate shifts, or the valve body appears to move behind the finish.
Check the handle, wall plate and grout line after a normal shower without spraying the fitting directly.
Confirm that the handle still turns through its normal range without grinding or slipping.
A small screw or cap may be obvious; a hidden cartridge or wall fixing is not a renter experiment.
Separate a loose handle from a valve problem
If the handle moves but the water starts, stops and changes temperature normally, an external fixing may be loose. If the water keeps running, the temperature changes unexpectedly, or the handle turns without resistance, the valve mechanism may need maintenance.
Do not run the shower repeatedly to prove a fault. One short, normal test is enough. Photograph the dry fitting, then record whether water appears at the wall, under the trim or only at the shower head.
Make one gentle, reversible check
If a visible handle screw is clearly loose, the fitting is dry and the handle still operates normally, use the correct manual screwdriver and turn it only until snug. Test the handle once. Do not use a drill, remove a decorative cap with force or tighten a wall plate that is moving in the tile.
Do not apply silicone around the handle to hide movement. Sealant can trap water, cover a leak path and make later maintenance harder. Portland Water Bureau's faucet guidance uses the same useful boundary for water controls: identify the leak location, isolate water when appropriate and send uncertain repairs to a qualified professional (Portland Water Bureau faucet leak guidance).
Know when the shower needs maintenance
Report the fitting if the handle is loose after one gentle check, the wall plate moves, the shower drips when closed, the wall becomes damp, the grout darkens repeatedly, the control is stiff or the temperature is difficult to regulate. Use the urgent route for a steady flow, scalding water or water near an electrical fitting.
Tell maintenance what you tested and what you left untouched. “The handle is loose” is useful; “the handle rotates freely, the shower still drips when closed and the wall plate moves” gives a much clearer starting point.
Keep the fitting dry while you wait
Use the shower only if it remains safe to control, keep bottles from pressing against the handle and dry visible splash from the wall. Do not hang a towel from the fitting or leave the trim covered by a wet cloth.
If the bathroom is also staying damp, compare the symptom with the bathroom condensation guide. A loose handle and poor ventilation may be separate problems that need to be reported together.
Keep control of temperature and flow
A loose shower handle needs a function and moisture check before it needs a tool. Confirm what moves, make one gentle adjustment only when the fixing is obvious and report anything that affects water control or the wall behind it. Continue with the full guide library for the next bathroom check.
These links support specific safety, maintenance or jurisdiction examples in the article. General guidance cannot replace the instructions for the exact appliance, fitting, lease or location.